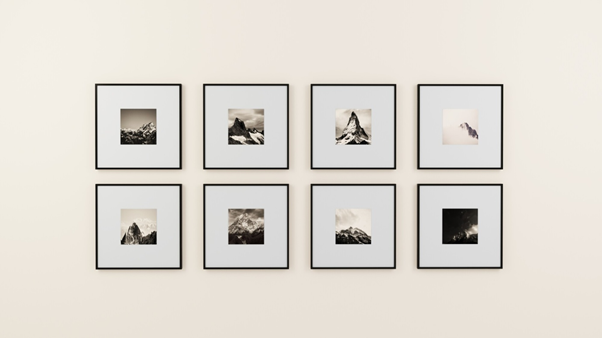
You know what they say: a picture is worth a thousand words. Not only can they express moods and emotions well, but pictures can also capture priceless memories to treasure forever. So it makes sense to select a few, then mount them so you have a constant reminder of what’s important in life.
If you’ve got some images you’d like to put on your walls, such as kid photo backdrop, then you need to learn some photo mounting and backing skills. This article will give you 4 ideas!
1. Get Precut Mats
A precut photo mat will be a lifesaver, especially if you’re not a very crafty person. This saves you the trouble of cutting one yourself, especially if you’re working with a standard size photo. If you’re working with a custom-sized picture, then you can always have a framing or art store cut one for you.
All you’ll have to do is put the photo behind the mat and have a viewing window cut out. This will allow your photo to be viewed for years to come, and it won’t adhere to the glass or acrylic and get damaged.
2. Know Your Photo Backing Options
Photo matboards aren’t your only option when it comes to backing photos. So if you weren’t keen on them, then you’ll be pleased to know that you have 2 other choices: foam core and gatorboard.
You can also use some other substrates, like aluminum, Plexiglas, and Dibond. However, do note that these materials aren’t as available, which means it’s not as easy or affordable to get for personal use.
With the 3 common household backing options, gatorboard is the hardest to work with. NOt only that, but it’s also not an acid-free choice.
3. Use Acid-Free Linen Hinging Tape
We highly recommend using acid-free linen hinging tape when you’re attaching the mat to the mount board. This is because the gummed hinging tape needs water activation, which can complicate the process.
With acid-free linen hinging tape, you can just line up the mat with the mount board, then tape it up. Cut the tape after you’ve put the 2 together and you’re done!
4. Never Use Rubber Cement
If you’ve taken photography in high school before, then you might be familiar with using rubber cement as a way to mount your pictures. However, this is one of the worst ways to do so! Rubber cement will destroy all the hard work you’ve done, as the chemicals in rubber cement will ruin your photo.
In place of rubber cement, we recommend dry-mounting your photos instead. It’s an easy process where you just put dry mount tissue between your picture and the mount, then use a dry mount press to bring everything together.
Be a Pro at Photo Mounting
Photo mounting can be a satisfying way to preserve your treasured pictures and show them off in your home. By utilizing the tips we’ve given you here, you’re well on your way to being a pro at photo mounting and backing!
Do you want to do more arts and crafts? Then keep reading our posts for some great info!

