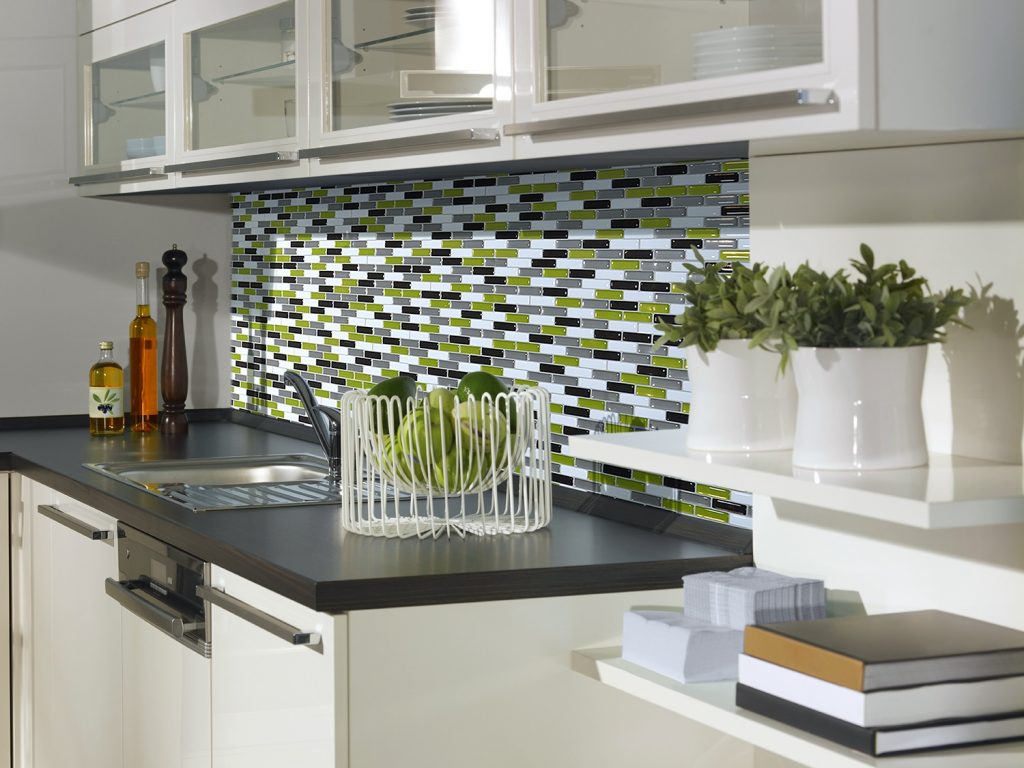
If you’ve just moved into a new home, rental, or are simply ready to update some items in your kitchen but can’t afford an entire kitchen remodel — or are not able to make updates per your rental contract, a DIY peel and stick backsplash is a great way to update your room without tarnishing the current aesthetic.
Where can you purchase a peel and stick backsplash?
To pick the perfect backsplash tile for your kitchen be sure you shop around and look at different styles until you choose one. Here are a few places you can purchase peel and stick kitchen backsplash tile:
Typically, prices range between $20-$30 for a 4-pack of tile so before you buy, be sure you measure the space needed so you purchase the correct amount of packs for your project.
Note — we recommend buying 1 or 2 more packs, so you have extras in case you mess up or need to cut and resize a few. Now that you’ve picked your tile, let’s discuss how to install it.
How to install peel and stick kitchen backsplash tile
To prep for your project, clean your current tile with soap and warm water and remove any outlet covers. Next, place one of your tile sheets onto your backsplash so you can mark anywhere you may need to cut (should the sheet be too large, or you need to cut for outlets).
Once you have an idea of the size and number of sheets needed, simply remove the backing and start sticking! Sometimes it works better to cover the entire area with as many full sheets as you can and then go back and fill in the spaces with sheets you can cut.
Now that you’ve finished the project, sit back and enjoy your fresh new kitchen and be grateful for all that extra cash you saved by doing it the DIY way!

